
Kiva Logic Blog
Updates, tips, and news from our team
The Exit-Intent Popup Got an Upgrade
The exit-intent popup just got a lot more useful. For a long time it did one thing: wait for someone to move their mouse toward the close button or the back button, then pop up and ask for their email. That still works, and it's still the default. But a lot of you wanted more control over when it shows, so now you've got it.
The big one: you can now show the popup on a timer instead of waiting for someone to leave. Set it to appear a few seconds after the page loads, or set it to 0 seconds and it shows immediately. There's also a "both" option that arms exit-intent and a timed fallback, whichever happens first. One company I'd heard about did exactly this, popping it up right away for new visitors, and they collected a ridiculous number of email addresses over the years. So if exit-intent feels too passive for you, give the timed version a try.
You can also tell it who to bug, and how often:
And the popup got its own home. Instead of everything being crammed into the campaign settings, there's now a dedicated Popup tab when you open your Exit Intent Popup campaign. Your title, sub-title, button text, colors, and background image live on one side, the display behavior (trigger, timing, frequency) lives on the other, and there's a preview link so you can see the real thing in a new tab before you save.
Polish your emails with AI
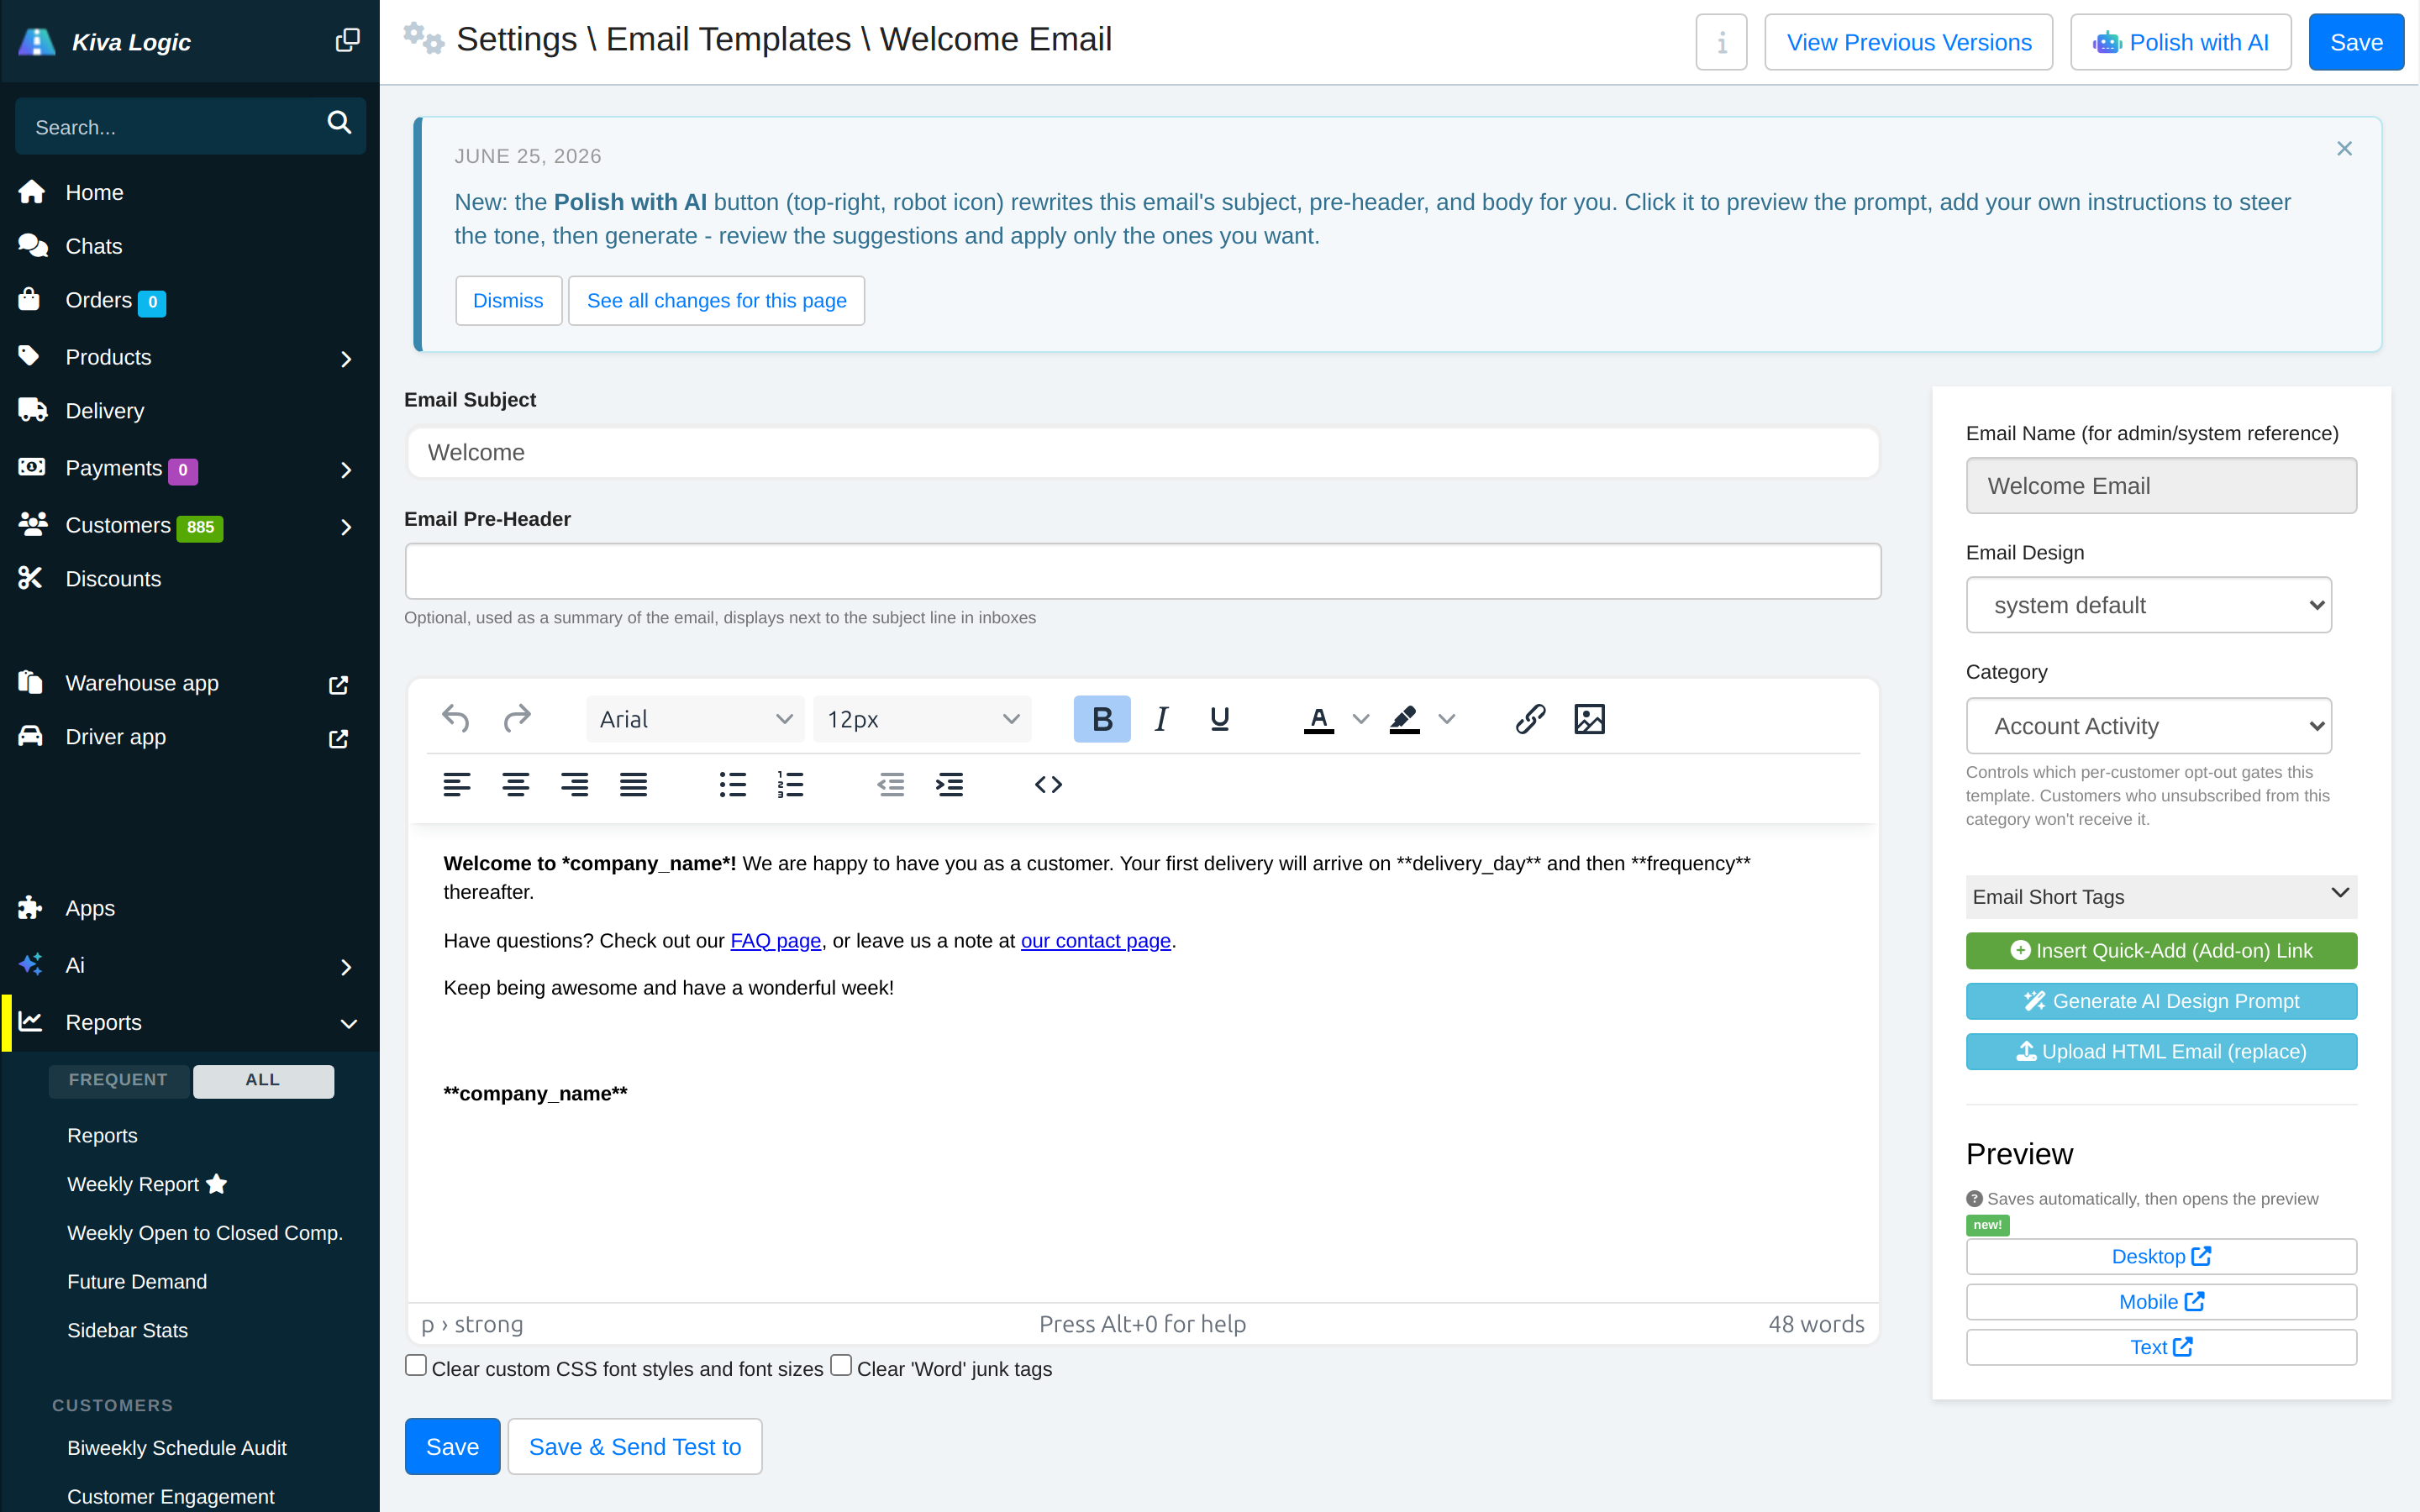
Every email template in your account now has a Polish with AI button at the top. Click it on any template and the AI rewrites the subject line, pre-header, and body for you, keeping your merge tags like **first_name** intact.
It is not a black box though. When you click it, you first see the exact prompt that is about to go to the AI, plus a box where you can add your own instructions to steer it, things like "make the tone warmer" or "keep it under 100 words" or "mention free delivery on the first box." Add whatever you want, or nothing at all, then hit Generate.
Bundle Pack Sheets: pack bundles separately and marry them to the order
If you sell bundles, here's a new one to make your warehouse life a little easier. You can now pull every bundle in an order out onto its own pack sheet, so your team can pack the bundles separately and then marry them back to the order at the end.
Here's how it works. Turn it on and the bundle's individual items come off the main customer label. The bundle name stays right where it always was, just flagged so the packer knows that one's getting packed on its own. Then at the very end of your route download, after all the normal labels, you get a stack of bundle pack sheets, one page per bundle. Each one has a big BUNDLE PACK SHEET header with the bundle name on it, the customer and route info so it's easy to match back up, and just that bundle's items. Your crew packs the bundles off to the side, grabs the matching order, and they're done.
There's also a new little icon on the first label that shows how many bundles an order has, so nobody's left guessing whether they grabbed them all.
This is off by default and won't change a thing about how your labels print today. If you want to give it a try, flip it on in your Print Labels settings (look for "Print bundles as separate PDF labels") and print a route to see it in action. Let me know what you think!
Smarter driver navigation, fewer wrong-house deliveries
Ever had a driver end up at the wrong house, even though the address on the account was correct? It happens more than you'd think, and it's usually not the driver's fault. When the app hands a phone's map a set of GPS coordinates, the map quietly snaps that pin to the nearest address it recognizes, which on a long rural road or a new build can be a couple houses off. The driver follows the directions, and the bins land on the wrong doorstep.
We just changed how the driver app navigates to fix this. Instead of always handing the map raw coordinates, it can now send the actual street address, so the map lands on the right parcel instead of guessing from a pin.
Here's the part I'm happy about: it's smart about the addresses you've fixed by hand. If you or your team ever dropped a custom pin on a customer because their address doesn't map correctly, the system now recognizes that and keeps navigating to your exact pin. It will never throw out coordinates you set on purpose, it works that out automatically by checking whether each saved pin actually matches where the address lands.
To make this easy to keep an eye on, there's a new report at Reports → Shipping/Delivery → Coordinate / Address Mismatch. It shows every customer whose saved pin doesn't line up with their address, so you can spot the tricky ones at a glance. On the customer page you'll also see a Lock coordinates option, tick that when you've placed a pin by hand and the driver app will always use your exact spot for that stop.
Kiva Logic- New Communication Settings for customers (replacing email unsubscribe)
Good morning!
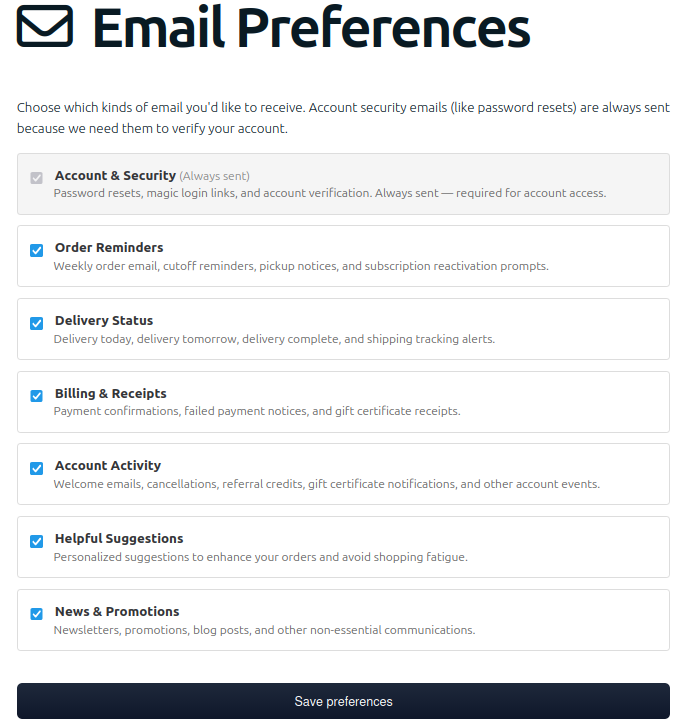
SHORT VERSION: emails now classified into categories, customers can unsubscribe from individual categories, vital emails are always sent
Longer version....
Inspired by one of Kiva Logic's customers (thank you J&M for the spark), email unsubscribing and blacklisting have been completely torn down and re-built. Let's see if I can do bullet points for you:
Smarter Email Preferences, and Better Deliverability for the Emails That Matter
Email just got a lot smarter for your customers, and a lot more reliable for the messages that actually matter.
Before this, Mandrill handled all the unsubscribe links and the one-tap "Unsubscribe" buttons that Gmail and Apple Mail show in the inbox, so we didn't have much control over what happened when someone clicked. The big problem was that any one of those clicks, or a single spam flag from a mail provider, could trigger a total blackout and quietly stop all email to that person... including their weekly order reminder, delivery alerts, receipts, and even password resets. Plenty of active customers cut themselves off by accident and never knew why.
Now we handle it ourselves, and email is split into categories so customers pick exactly what they want:
The one-tap unsubscribe button now has a unique link for each type of email, so tapping it on a newsletter only drops that one category and never touches their order or delivery emails. The unsubscribe link in your emails opens a preferences page where they check the boxes they want, instead of one nuke-it button. And account security emails can never be switched off, because people need them to get back into their account.
Design Your Emails with AI, Then Feature Your Vendors & Products
You can now design a completely custom HTML email with AI and drop it straight into your templates. No code, no rigid builder, no fighting with a layout that almost does what you want.
It starts on any template under Settings → Email Templates. Hit Generate AI Design Prompt and you'll get a ready-made prompt that already lists every merge tag available for that specific email. Paste it into ChatGPT or Claude, describe the look you're after, and let it build you a full, mobile-friendly HTML email. When it looks right, click Upload HTML Email and it replaces the template completely, sending exactly the way you designed it. Want to change it later? Download HTML, edit, re-upload.
The good part is that it's not a flat picture. Your merge tags fill in with real data at send time, so one template personalizes itself for every customer and stays current week to week.
That includes your vendors and products. When your design references one, dropdowns show up right on the email page so you can pick which to feature. Choose a vendor and we pull their name, location, logo, story, and a link to their page on your store. Choose their products and we pull the image, name, current price, and a buy link, fresh at send. Only real, active, in-stock products show up, so there's nothing to wade through, and you can swap your picks any week without touching the HTML.
Quick-Add to Box Links for Your Emails
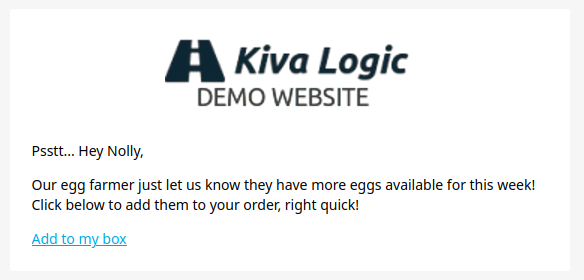
You can now drop one-click "add to my box" links straight into your emails. Pick a product, and every customer who gets that email sees a personalized link that adds that exact item to their current week's box with a single click. It's great for promoting an add-on, moving a little extra stock, or a friendly "you forgot the eggs!" nudge.
To use it, open any template under Content → Email Templates, click Insert Quick-Add (Add-on) Link right below the Email Short Tags, and pick your product and quantity. You decide how it shows up in the email:
When a customer clicks, they hit a quick confirmation page, press the button, and the item is in their box.